Quick Start
This page covers the three basic tasks for a first-time operator: start Watchdog, sign in to the Web page, and confirm that GatewayRuntime is running. Studio is optional. It is used for project development and remote publishing; a normal gateway does not need Studio to run.
Services and access addresses
| Service | Default address | Purpose |
|---|---|---|
| Studio (optional) | http://<server-ip>:5100 | Create, import, validate, and remotely publish projects. It is not required for normal gateway runtime. |
| GatewayRuntime | http://<gateway-ip>:6100 | Configure collection, variables, rules, alarms, forwarding, and permissions. |
| Watchdog | http://<gateway-ip>:6200 | Start and supervise GatewayRuntime, and manage projects and backups. |
Watchdog and GatewayRuntime run on the gateway device. Watchdog starts and supervises the GatewayRuntime process. Install Studio separately on an engineer's computer only when you need centralized project development or remote publishing.
Before you start
| Check | Requirement |
|---|---|
| Operating system | Use a product-supported Windows or Linux system. |
| Runtime | Standard GatewayRuntime, Studio, and Watchdog packages require .NET 10 Runtime. Studio and Watchdog additionally require .NET 10 ASP.NET Core Runtime. Self-contained or AOT packages do not require a separate .NET Runtime. |
| Ports | Confirm that GatewayRuntime port 6100 and Watchdog port 6200 are available. Check port 5100 only when Studio is installed. Allow the ports through the firewall when remote access is required. |
| Watchdog file | Windows package: ThingsGatewayRuntime.Watchdog.exe; Linux package: ThingsGatewayRuntime.Watchdog. |
| Studio file (optional) | Windows package: ThingsGatewayStudio.exe; Linux package: ThingsGatewayStudio. Keep it with the other Studio files. |
| Runtime directories | Keep GatewayApp, Projects, and Configuration beside the programs, and give the runtime account read/write access. |
| Permissions | Use an administrator account to install a Windows service. On Linux, grant execute permission to the programs. |
| Default account | The bundled default account is admin with password 111111. Change it immediately after the first login. |
Start the gateway
Start Watchdog first. Confirm both Watchdog and GatewayRuntime are reachable before configuring automatic startup.
Windows direct start
Open PowerShell on the gateway device and run Watchdog from its release directory:
Set-Location 'D:\ThingsGateway\WatchDog'
.\ThingsGatewayRuntime.Watchdog.exe
Replace the example directory with the actual installation directory. Start the program from its own directory; do not copy only the executable to another location.
When Studio is needed, start it separately on the engineer's computer:
Set-Location 'D:\ThingsGateway\Studio'
.\ThingsGatewayStudio.exe
Linux direct start
On the gateway device, run:
cd /opt/ThingsGateway/WatchDog
chmod +x ThingsGatewayRuntime.Watchdog
./ThingsGatewayRuntime.Watchdog
Replace /opt/ThingsGateway with the actual installation directory. Start Studio separately only when it is needed:
cd /opt/ThingsGateway/Studio
chmod +x ThingsGatewayStudio
./ThingsGatewayStudio
Watchdog starts GatewayRuntime from the adjacent GatewayApp directory. If no project has been applied yet, sign in to Watchdog to upload and apply a project, or publish one from Studio.
Confirm startup
- Open
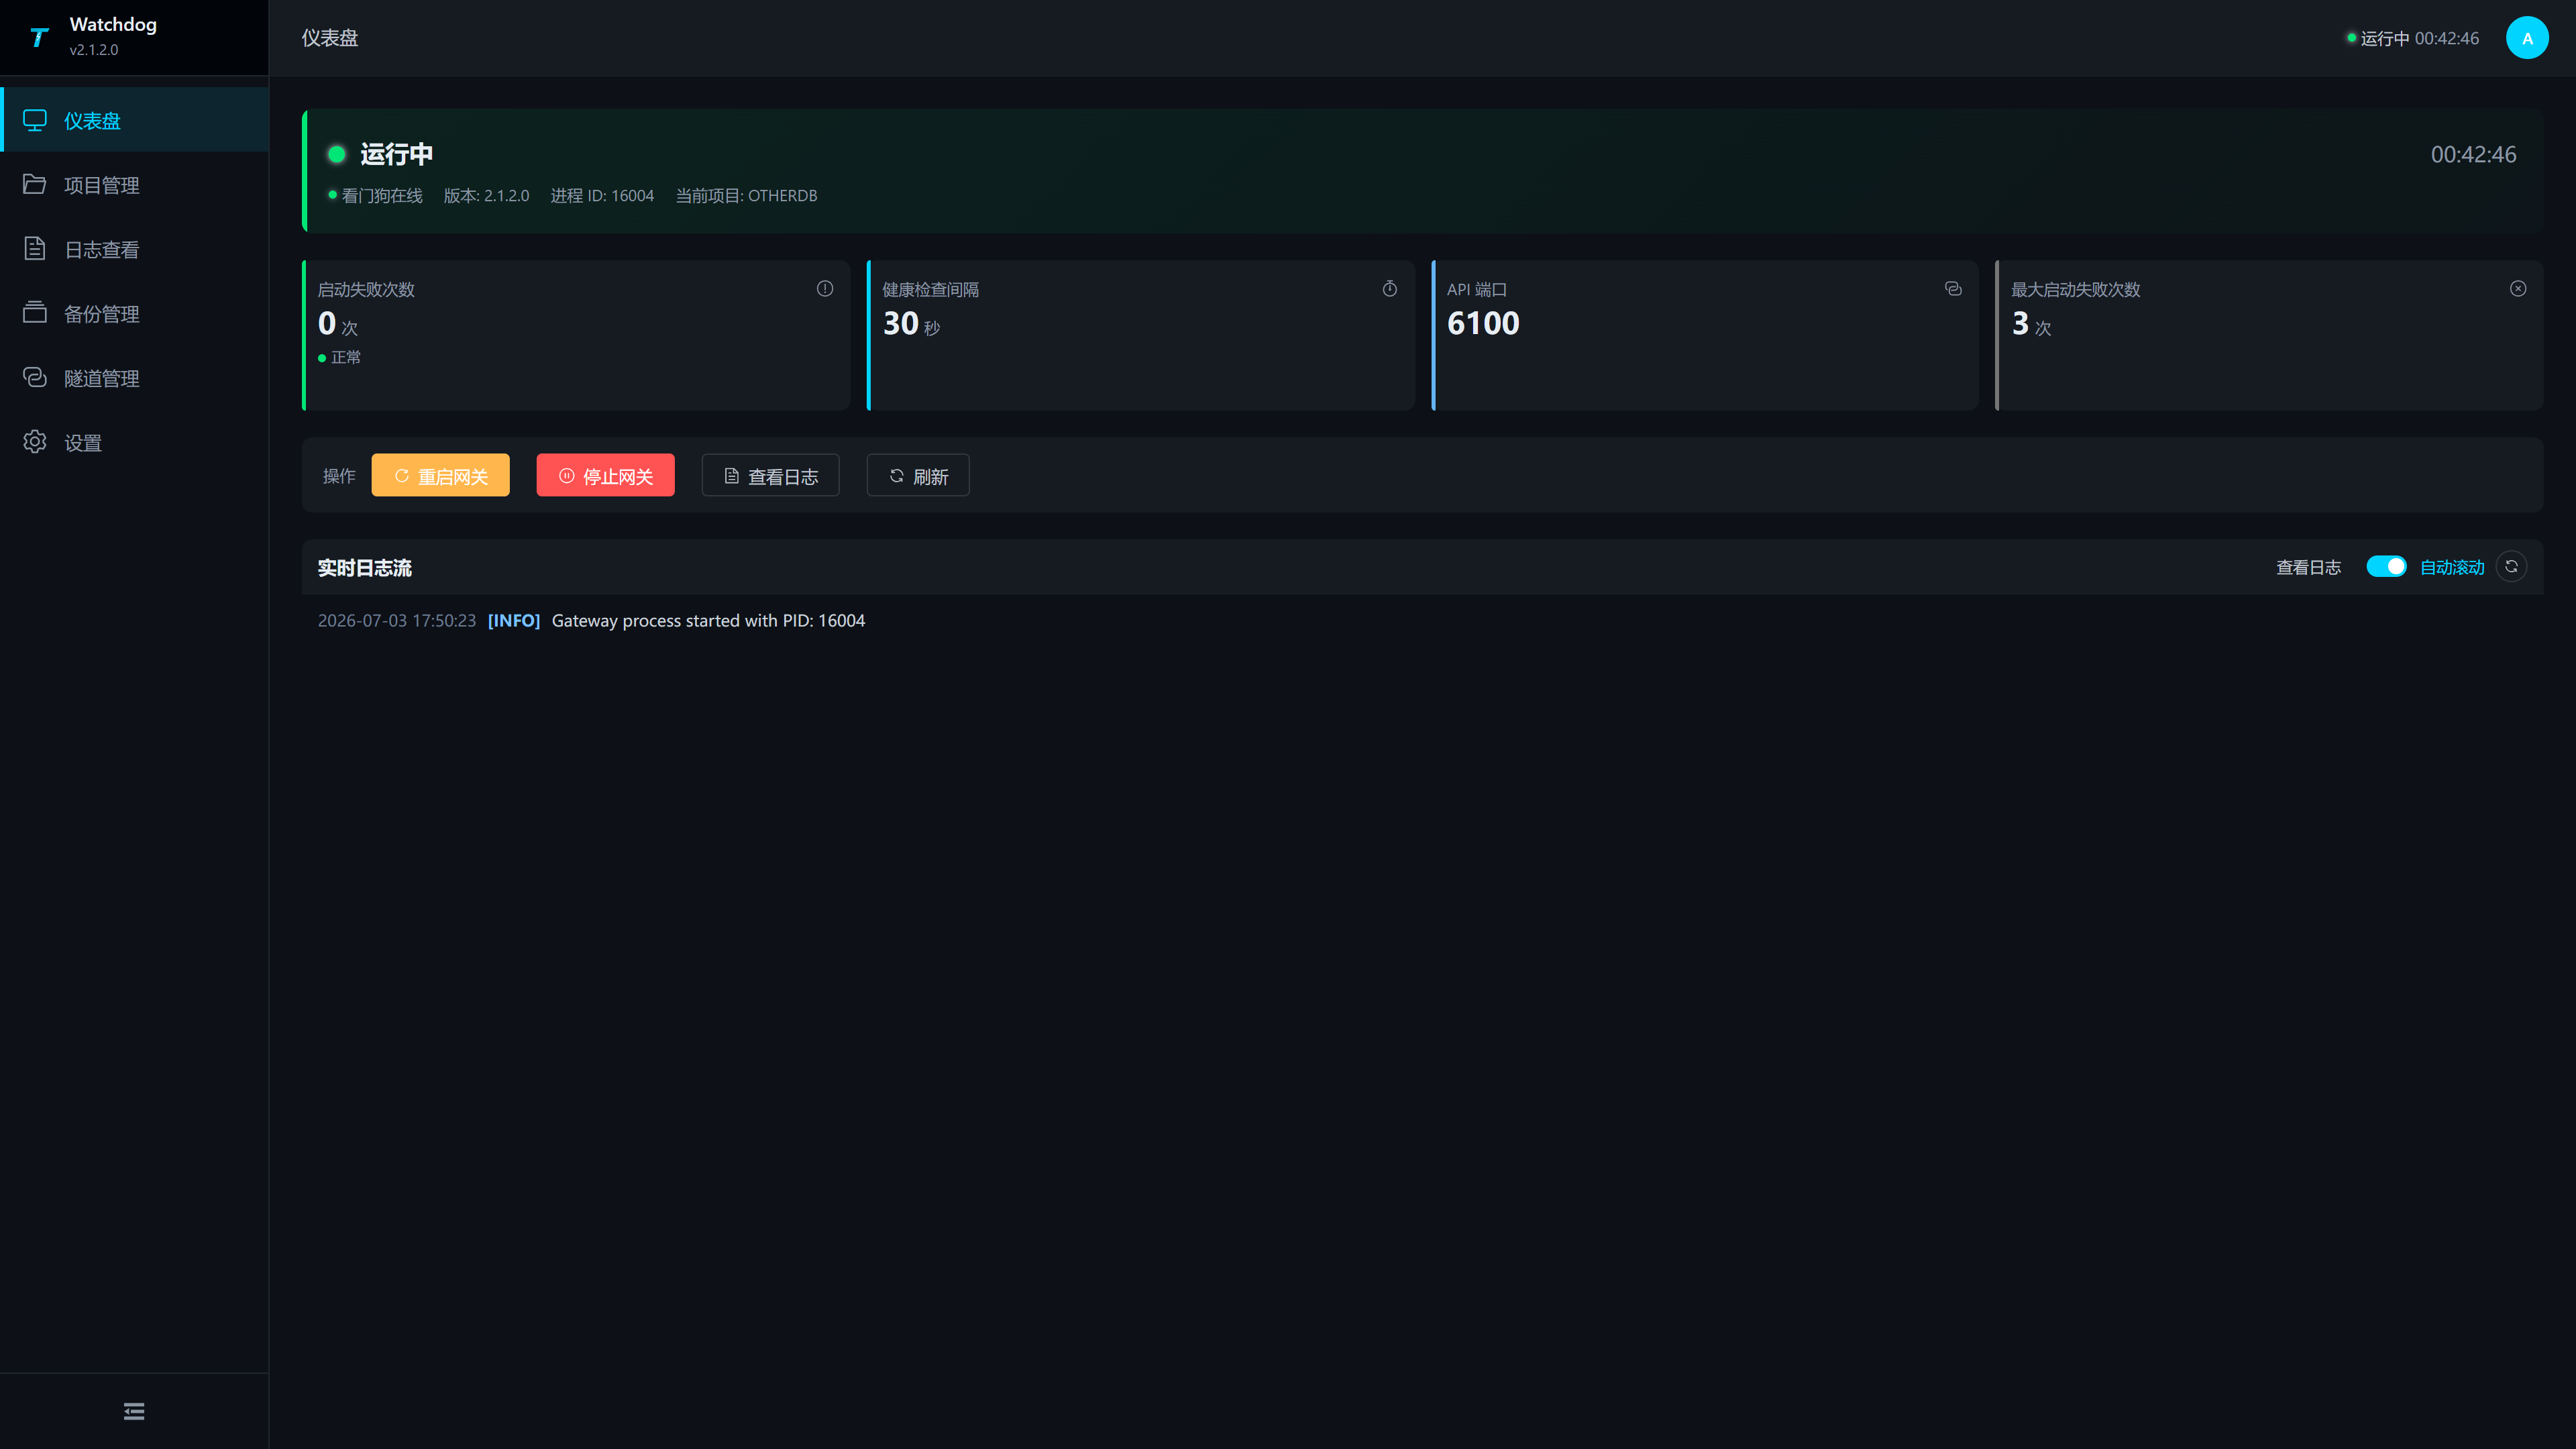
http://<gateway-ip>:6200and confirm that the Watchdog login page appears. - Sign in to Watchdog and check the dashboard. GatewayRuntime should show a running state.
- Open
http://<gateway-ip>:6100and confirm that the GatewayRuntime login page appears. - If Studio is installed, open
http://<server-ip>:5100and confirm that its login page appears.
Install as a Windows service
After direct start works, open PowerShell as administrator. Fill in the actual Watchdog path before creating the service:
$watchdogExe = 'D:\ThingsGateway\WatchDog\ThingsGatewayRuntime.Watchdog.exe'

sc.exe create ThingsGatewayWatchdog binPath= "`"$watchdogExe`"" start= auto DisplayName= "ThingsGateway Watchdog"
sc.exe start ThingsGatewayWatchdog
Get-Service ThingsGatewayWatchdog
When Get-Service shows Running, open the Watchdog and GatewayRuntime addresses again. If the service does not start, check the executable path, working-directory permissions, and the Windows Event Viewer. Create a separate Studio service only when Studio must run continuously.
Install as a Linux systemd service
After direct start works, create /etc/systemd/system/thingsgateway-watchdog.service:
[Unit]
Description=ThingsGateway Watchdog
After=network.target

[Service]
Type=simple
User=thingsgateway
WorkingDirectory=/opt/ThingsGateway/WatchDog
ExecStart=/opt/ThingsGateway/WatchDog/ThingsGatewayRuntime.Watchdog
Restart=always
RestartSec=10

[Install]
WantedBy=multi-user.target
Replace User, WorkingDirectory, and ExecStart with the actual account and installation directory. The account must be able to read and write the Watchdog, GatewayApp, and Projects directories.
Enable and start the service:
sudo systemctl daemon-reload
sudo systemctl enable thingsgateway-watchdog
sudo systemctl start thingsgateway-watchdog
sudo systemctl status thingsgateway-watchdog
When the status shows active (running), open the Watchdog and GatewayRuntime addresses. Create a separate systemd service for Studio only when Studio must run continuously.
Sign in to GatewayRuntime
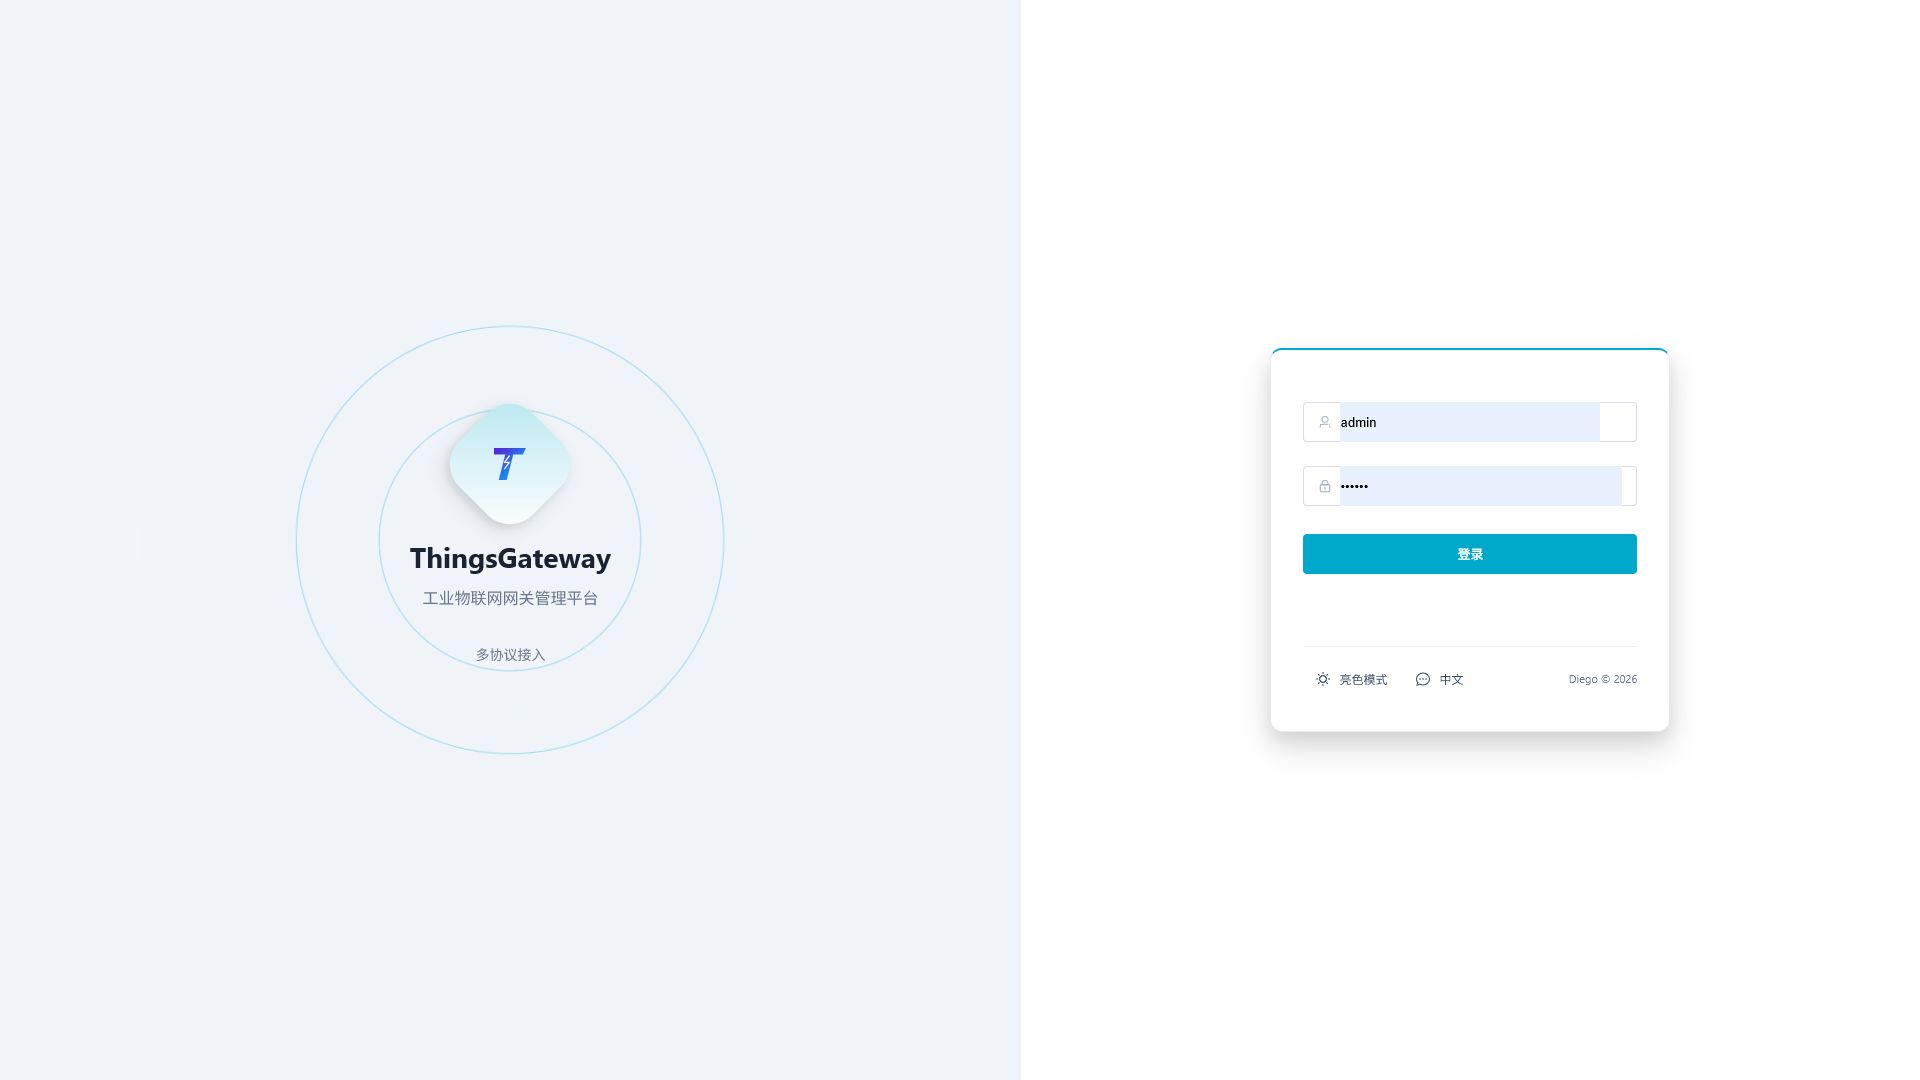
Open http://<gateway-ip>:6100, enter the account and password, and click Login.
After login, the System Overview page opens.
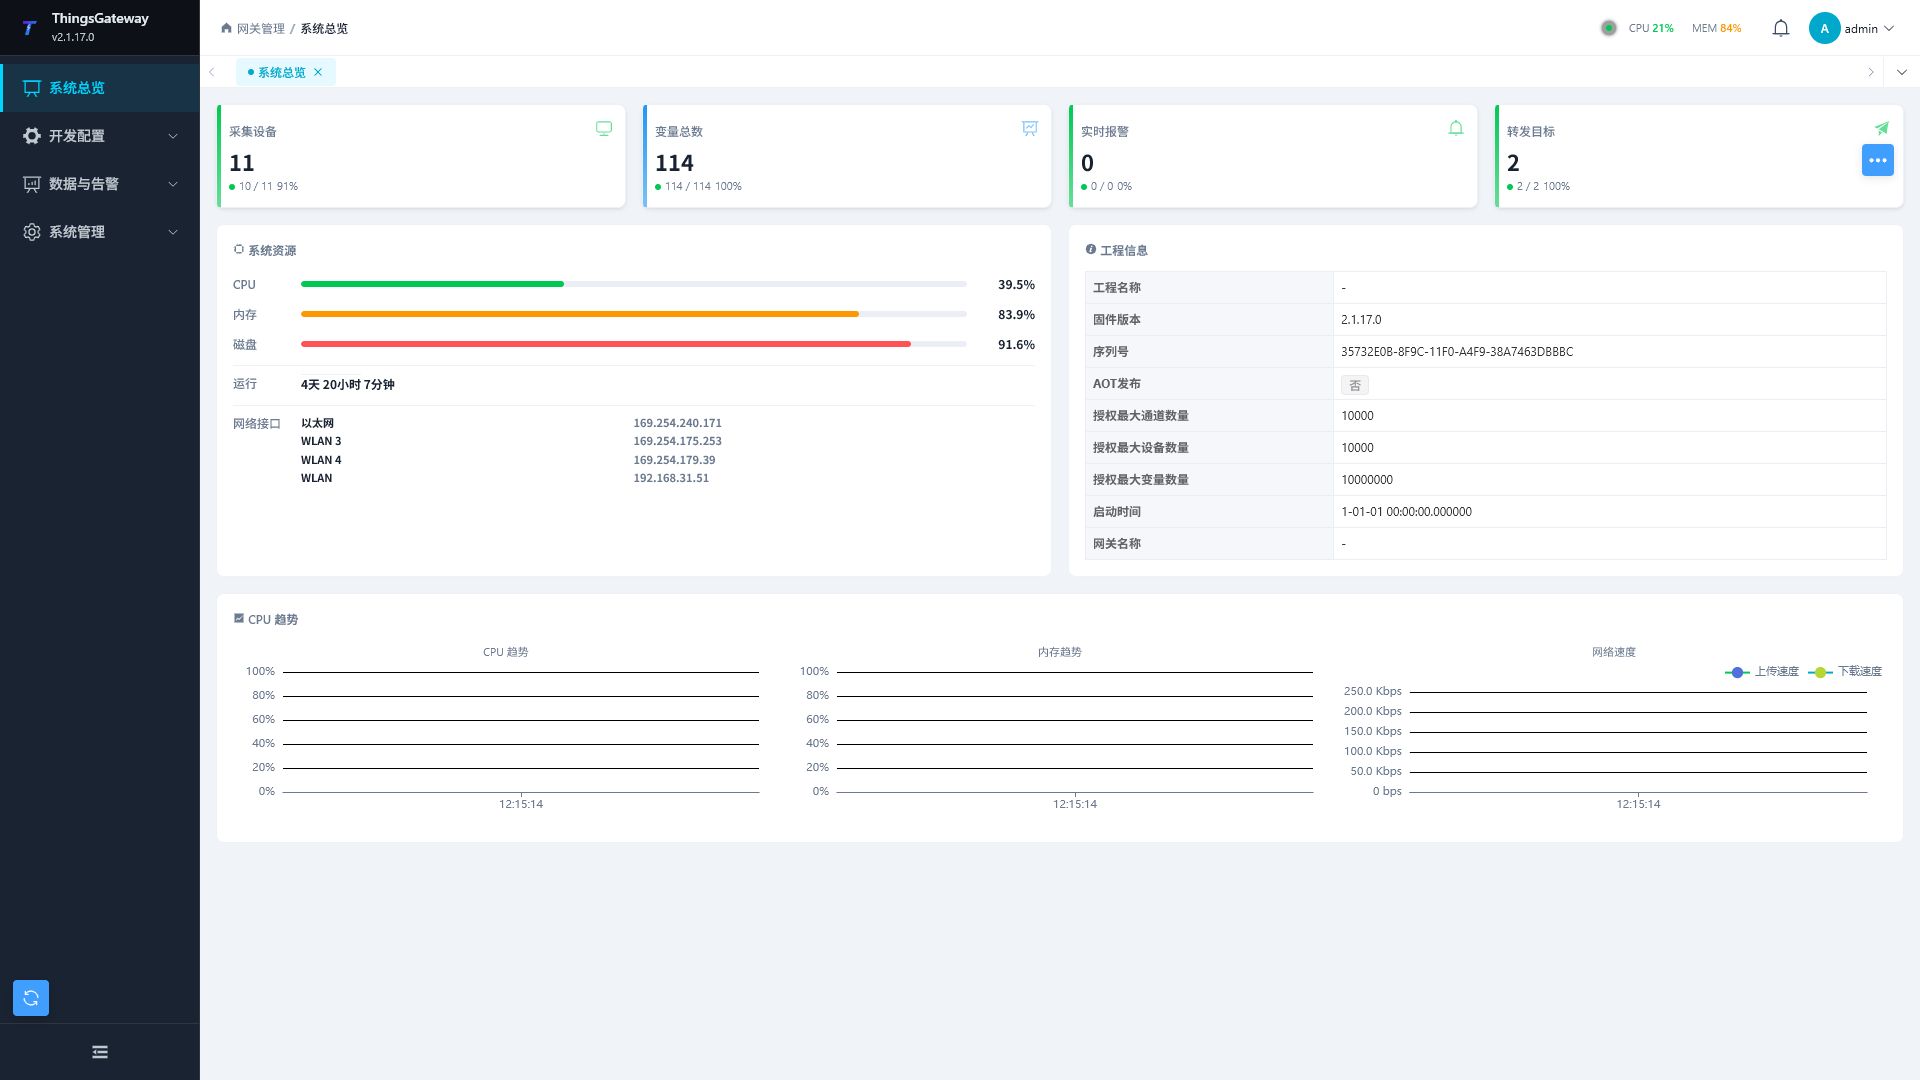
First checks after login
| Step | Page | Check |
|---|---|---|
| 1 | System Overview | The page loads and project information and system resources show no obvious error. |
| 2 | Collection Configuration | Channels, devices, and variables are loaded; target devices are not continuously offline. |
| 3 | Data Forwarding | Forwarding groups and targets are enabled, and recent activity times continue to update. |
| 4 | System Logs | No continuous connection, authentication, read/write, or save errors appear. |
| 5 | User Management | Change the default password and assign accounts according to responsibilities. |
Sign in to Studio (optional)
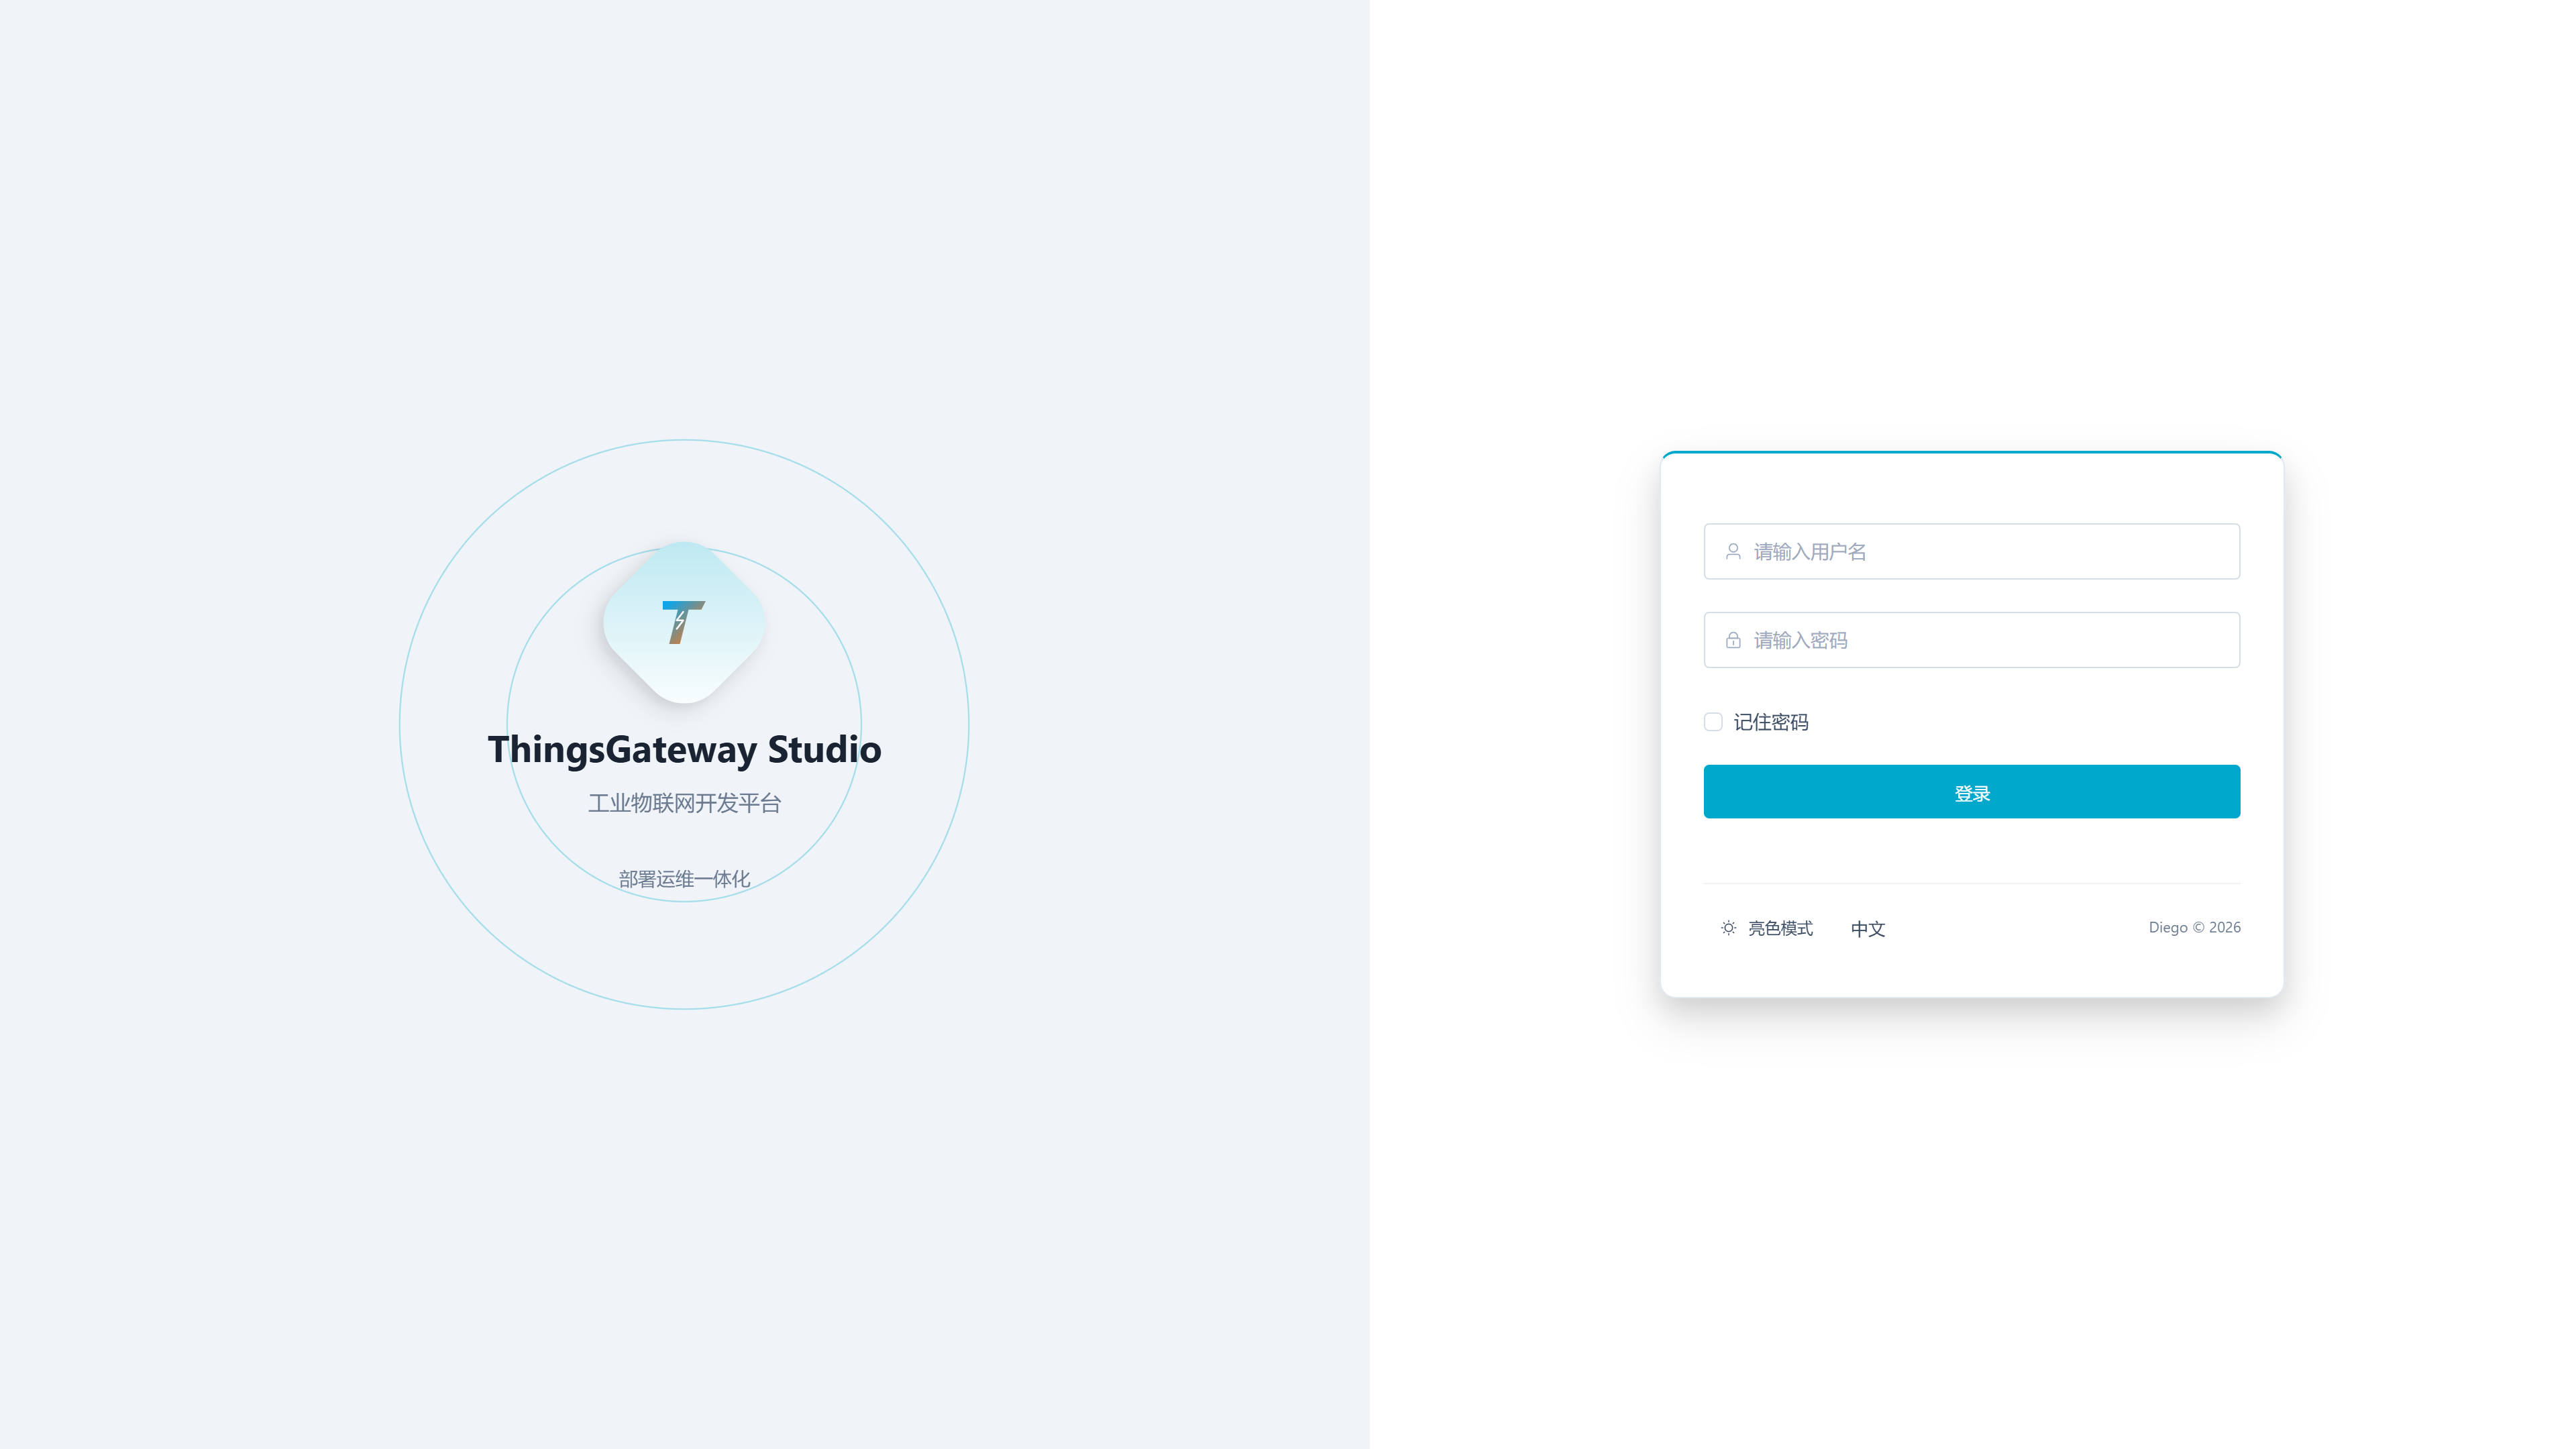
Open http://<server-ip>:5100 only when Studio is deployed.
In My Projects, create or import a project. Use Watchdog to maintain gateway connections and publish a project.
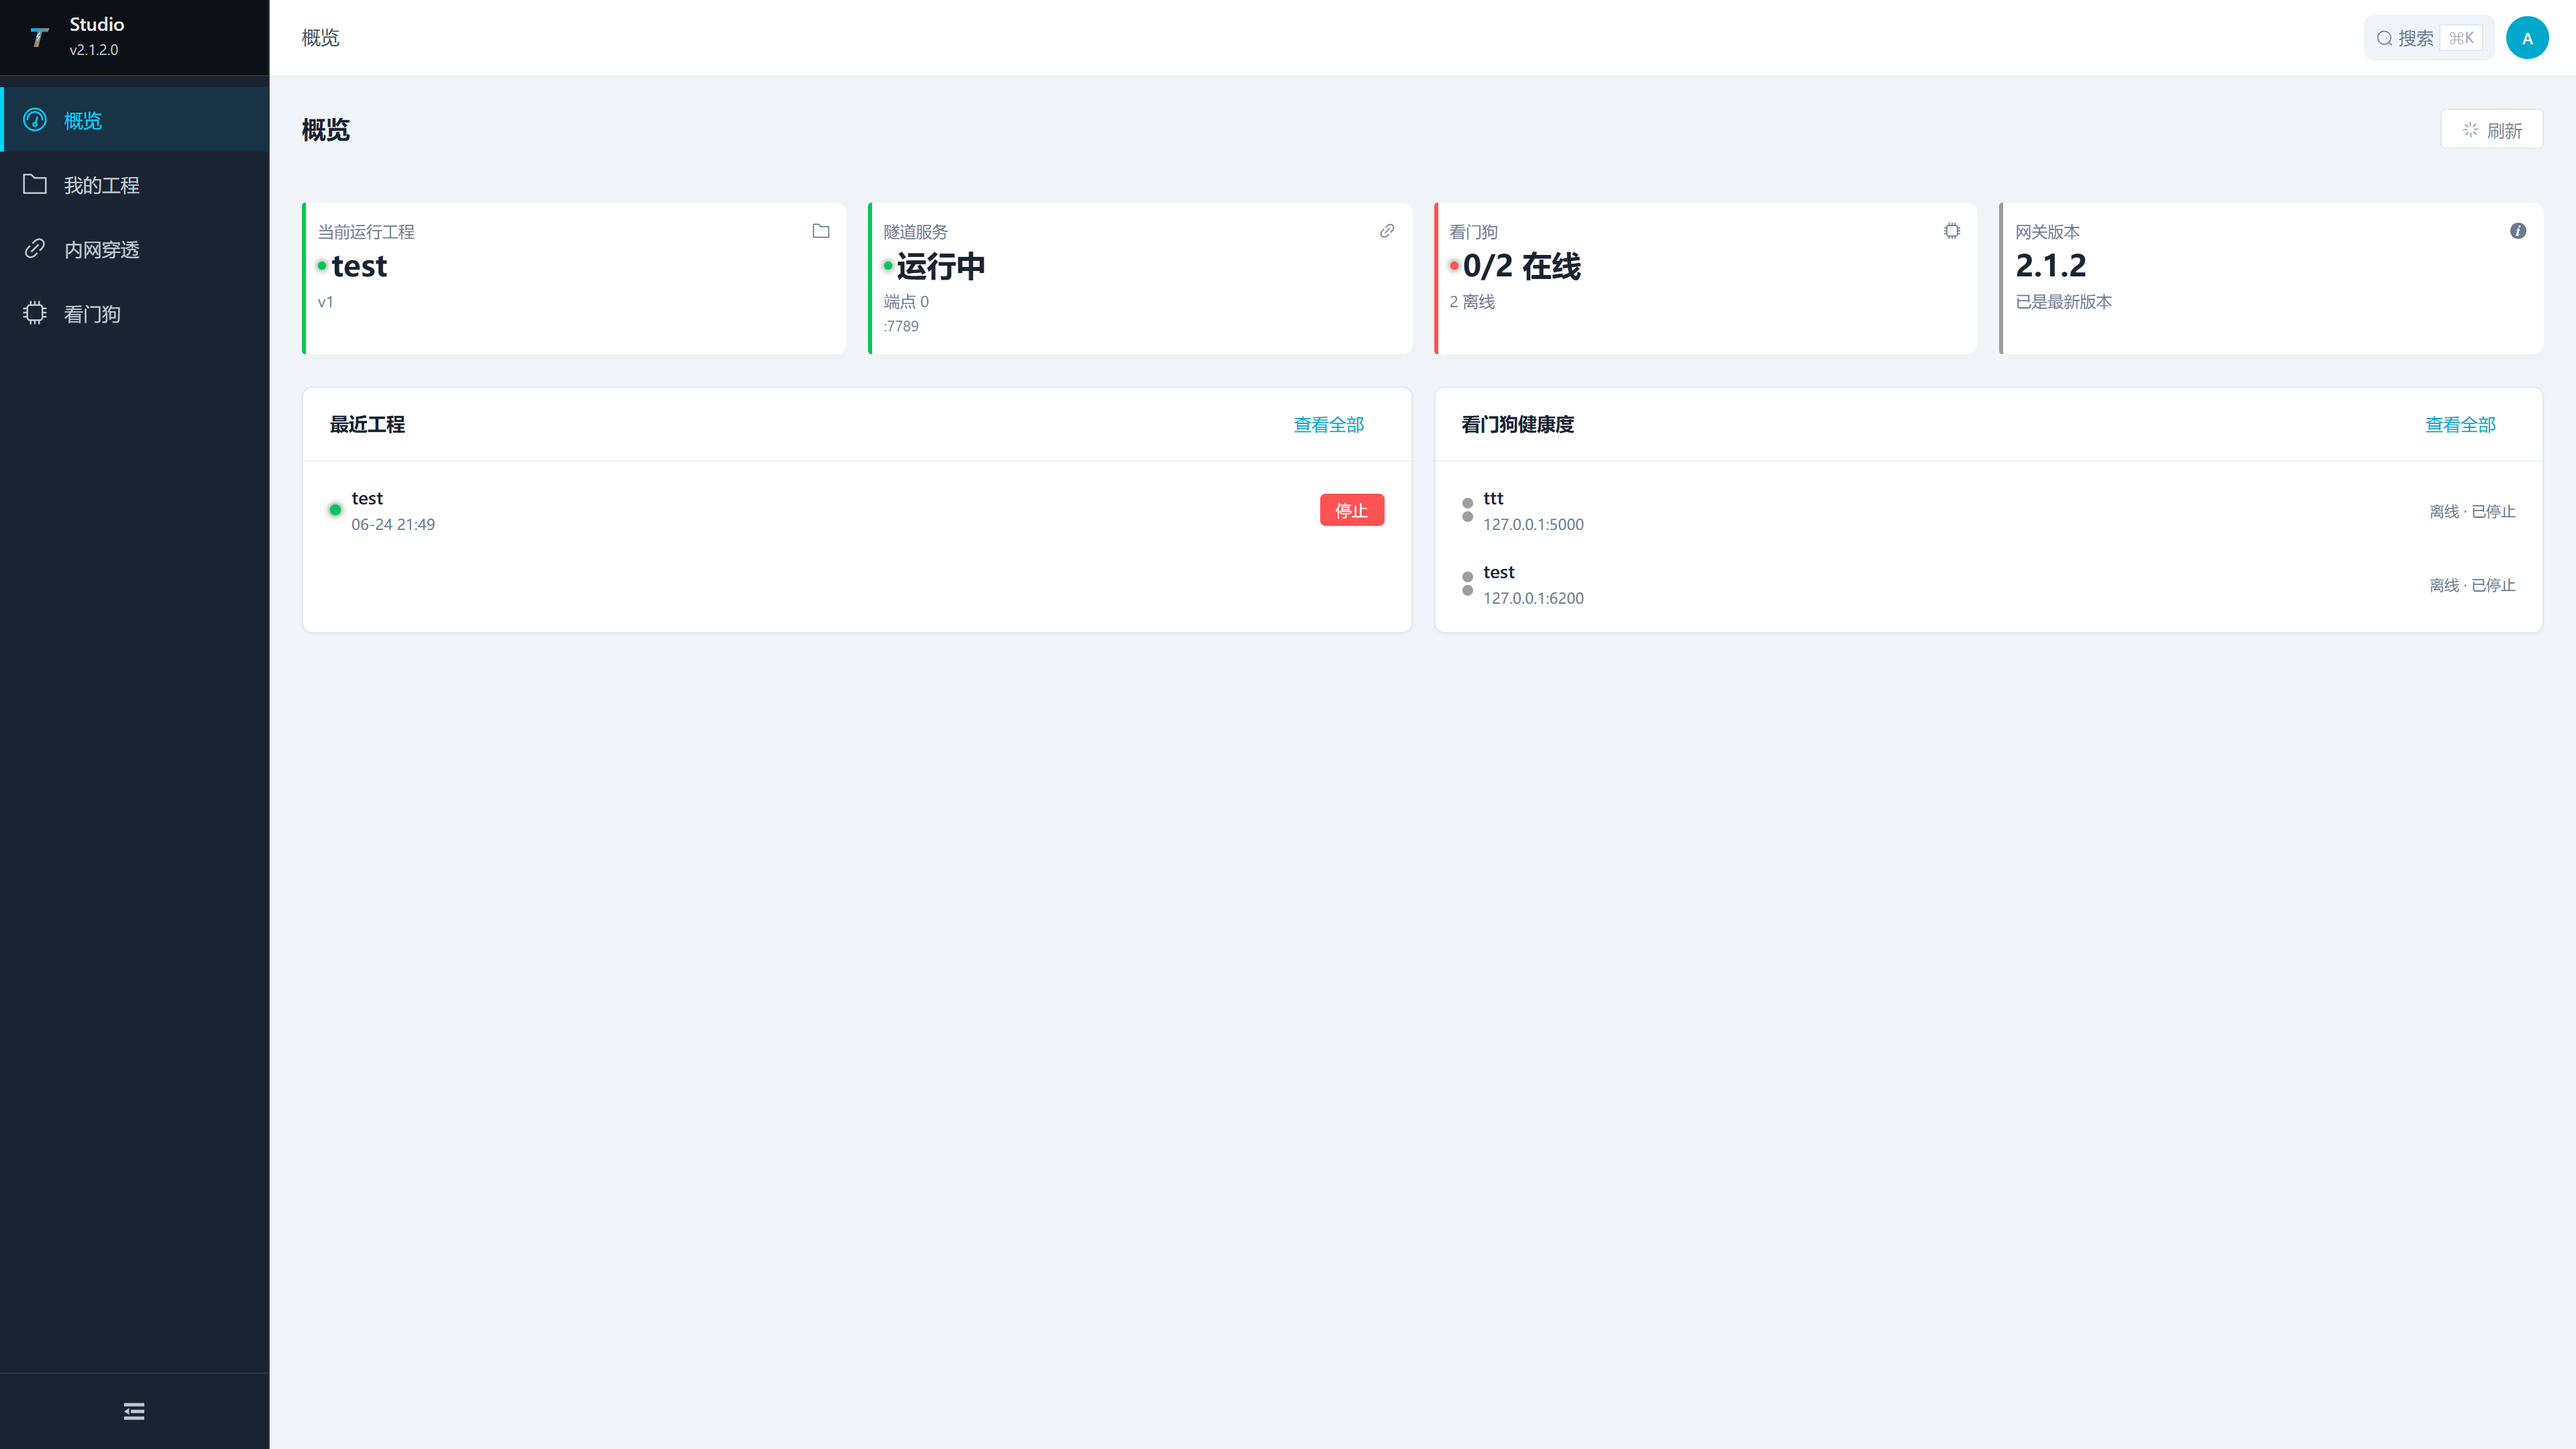
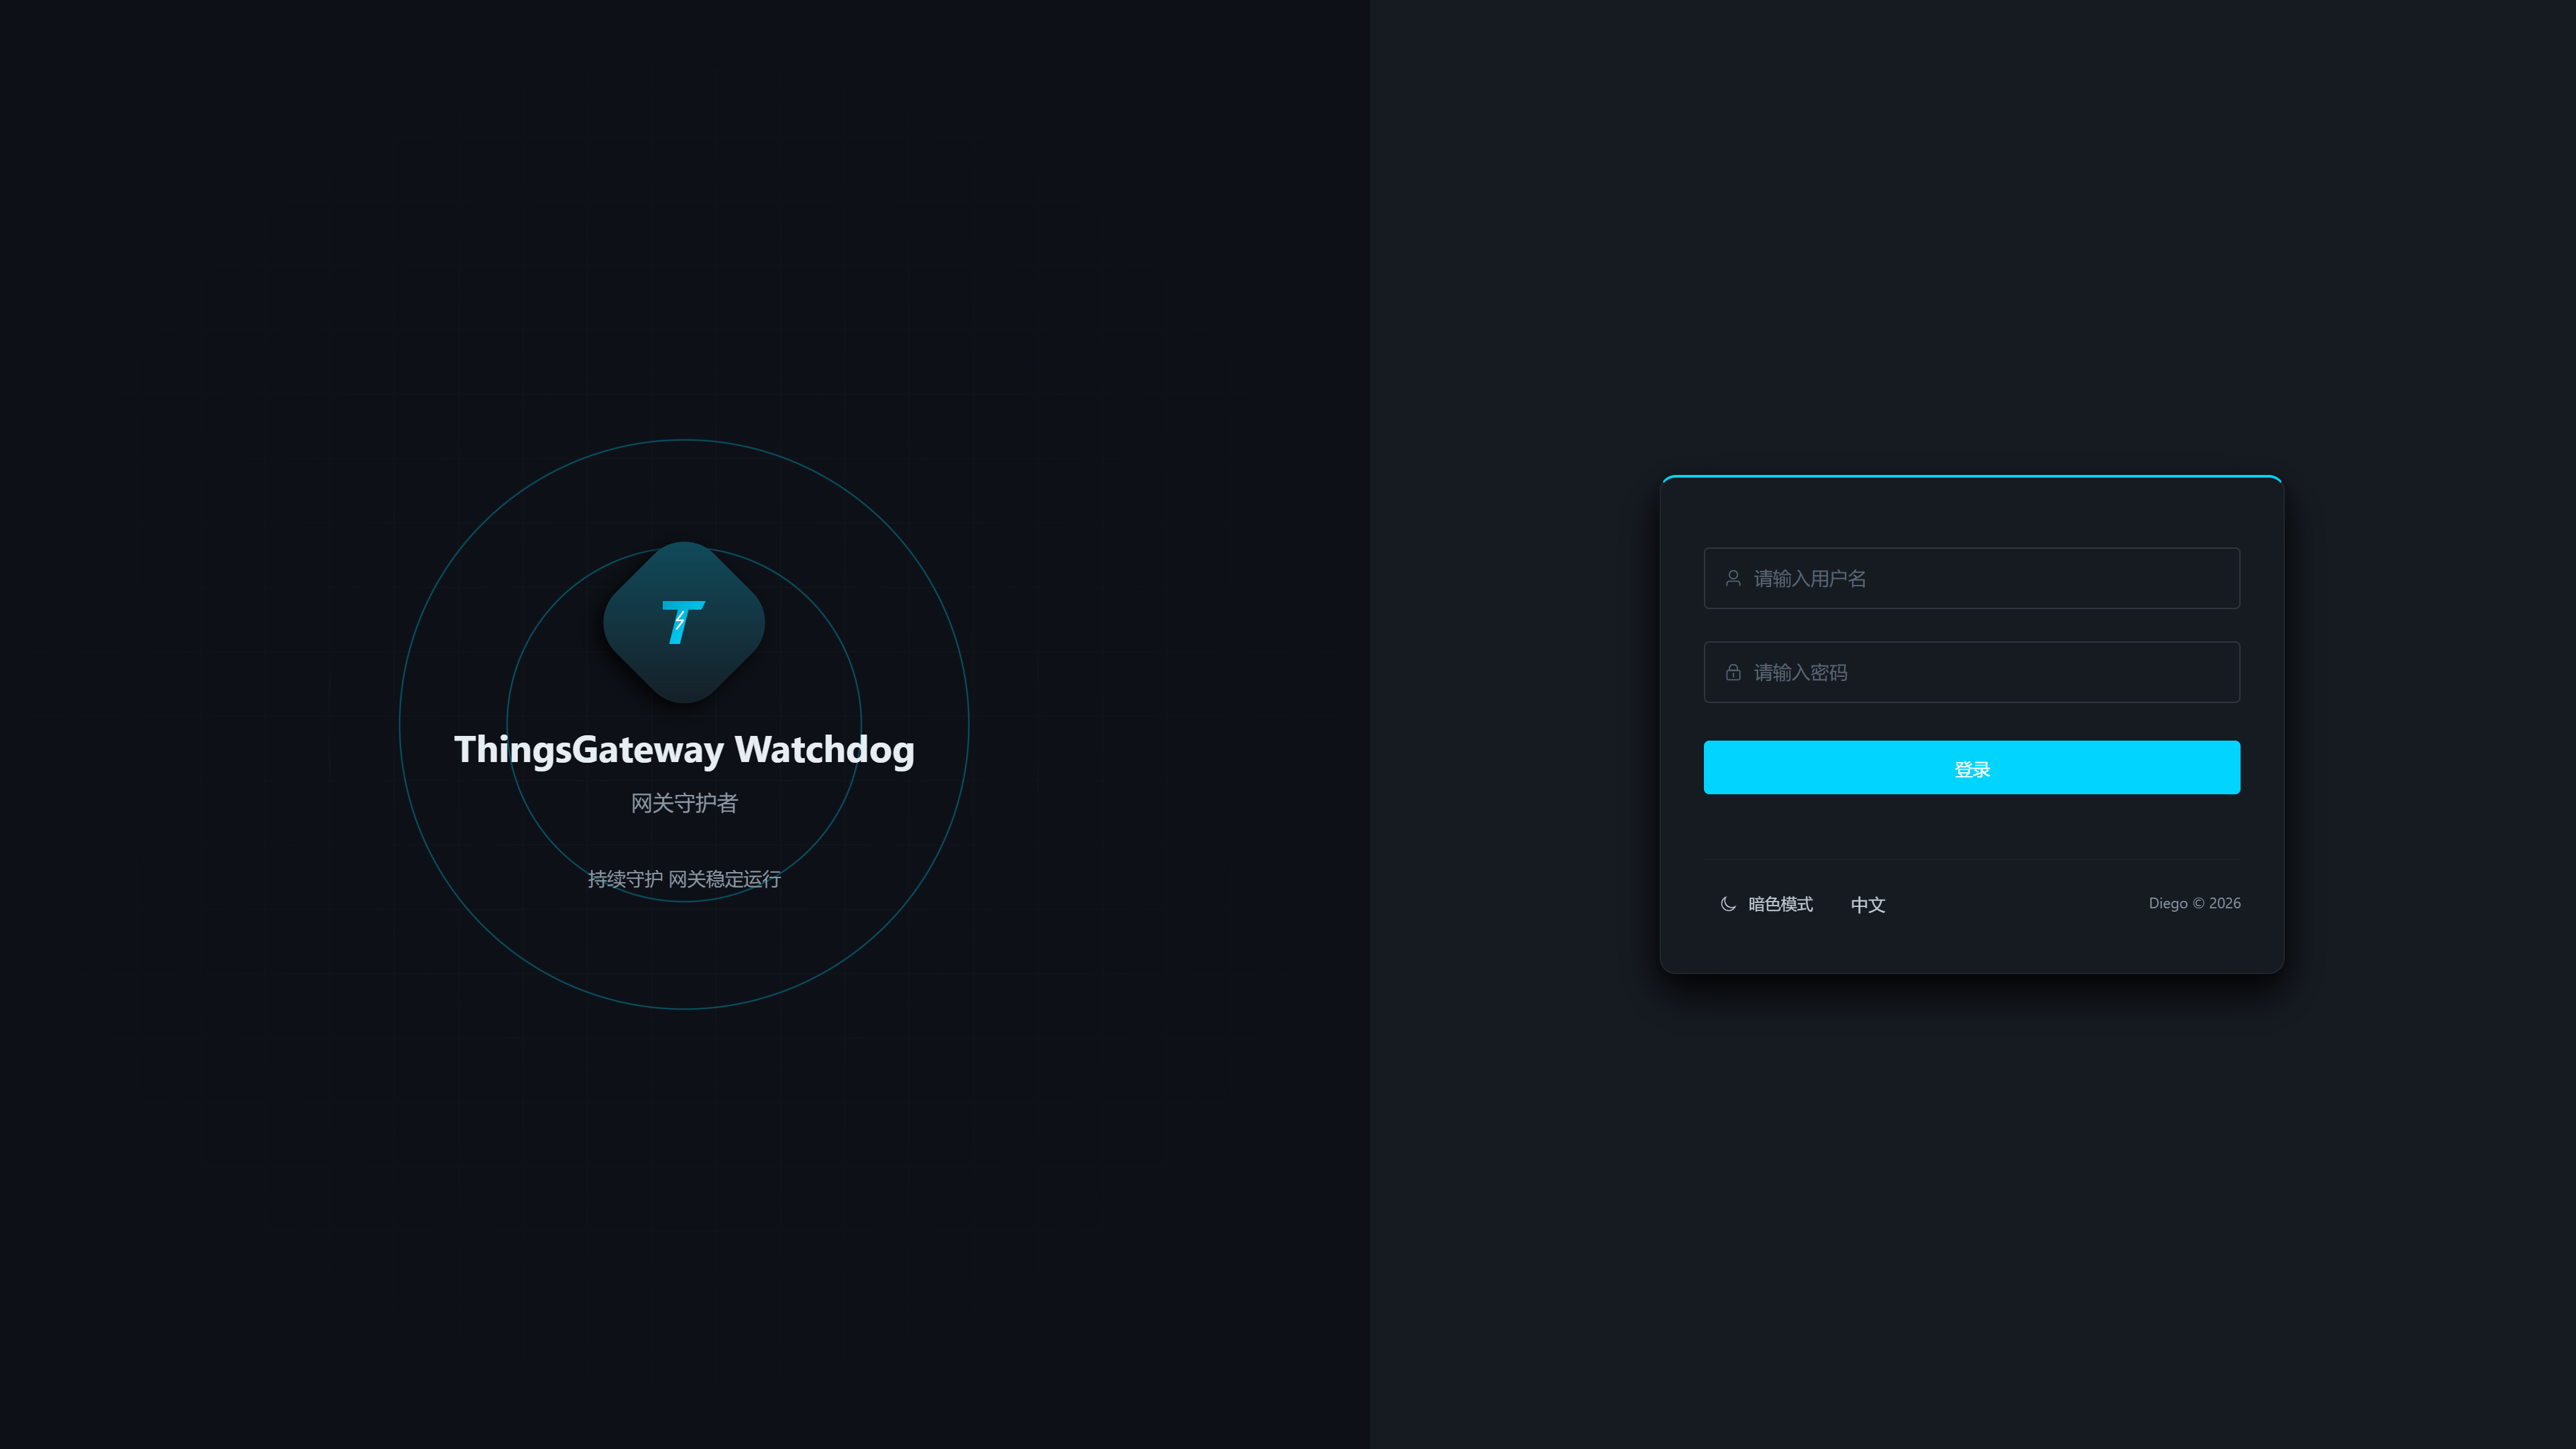
Sign in to Watchdog
Open http://<gateway-ip>:6200 and sign in.
Use the dashboard to view the gateway process, runtime parameters, and logs.
Common problems
| Symptom | What to check |
|---|---|
| The browser cannot open the page | Confirm that the corresponding service is running, the port is free, and the firewall allows the connection. |
| The page works locally but not through the device IP | Check the listening address, remote-management settings, and network firewall rules. |
| Login fails | Check the account, password, user status, and accidental spaces in the password. |
| The page returns to the login screen | Check whether the service has just restarted, then refresh and sign in again. |
| Studio cannot see Watchdog | From the Studio computer, open the Watchdog address and check network access, account permissions, and Watchdog logs. |
| GatewayRuntime does not start automatically | In Watchdog, check whether a project has been applied and whether the gateway process reported a startup error. |
Next steps
- Collection Configuration: Configure channels, devices, and variables, then verify addresses and data types in More Functions → Debug.
- Data Forwarding: Send data to an external system or database.
- GatewayRuntime Web Operation Manual: Find functions by task.
- Studio Web Operation Manual: Use Studio for project management and remote publishing.
- Watchdog Web Operation Manual: Manage services, projects, and backups.