KnxMaster
Purpose
KNXnet/IP tunnel group address read and write driver
Open the plugin
Enter "Development Configuration → Collection Configuration", create a device and select "KnxMaster" in "Collection Plugin".
Supported channels and data types
| Channel type | Pre-configuration check |
|---|---|
| UDP | Confirm the local binding address, port and firewall rules, and check the source of the packet. |
Optional data types: Boolean, Byte, Int16, UInt16, Int32, UInt32, Float, String
Plugin properties
KNX Master supports only the UdpSession channel. Create a UDP session and configure its local bind address first. Configure common timeout, retry, write-priority, and data-format fields through Collection Configuration; the current default data order is ABCD.
Running parameters
| Setting | Description |
|---|---|
| Tunnel heartbeat interval | Default: 60000; fill in: text input. Tunnel heartbeat interval; unit is milliseconds, default 60000; must be greater than zero |
When the device starts, it establishes a KNXnet/IP tunnel and sends connection-state heartbeats at this interval. A failed heartbeat marks the tunnel offline; the next read performs a new handshake. Each group-address variable is read independently. Group values must be 1–254 bytes, and Boolean variables cannot be arrays.
Address rules
- KNX group addresses must use the main/middle/sub format, for example 1/2/3; main group 0..31, middle group 0..7, subgroup 0..255. The read length and write data are both 1..254 bytes.
- String variables need a
len=lengthconverter option in the address; the resulting group value must remain within 1–254 bytes.
Functions
| Function | Purpose |
|---|---|
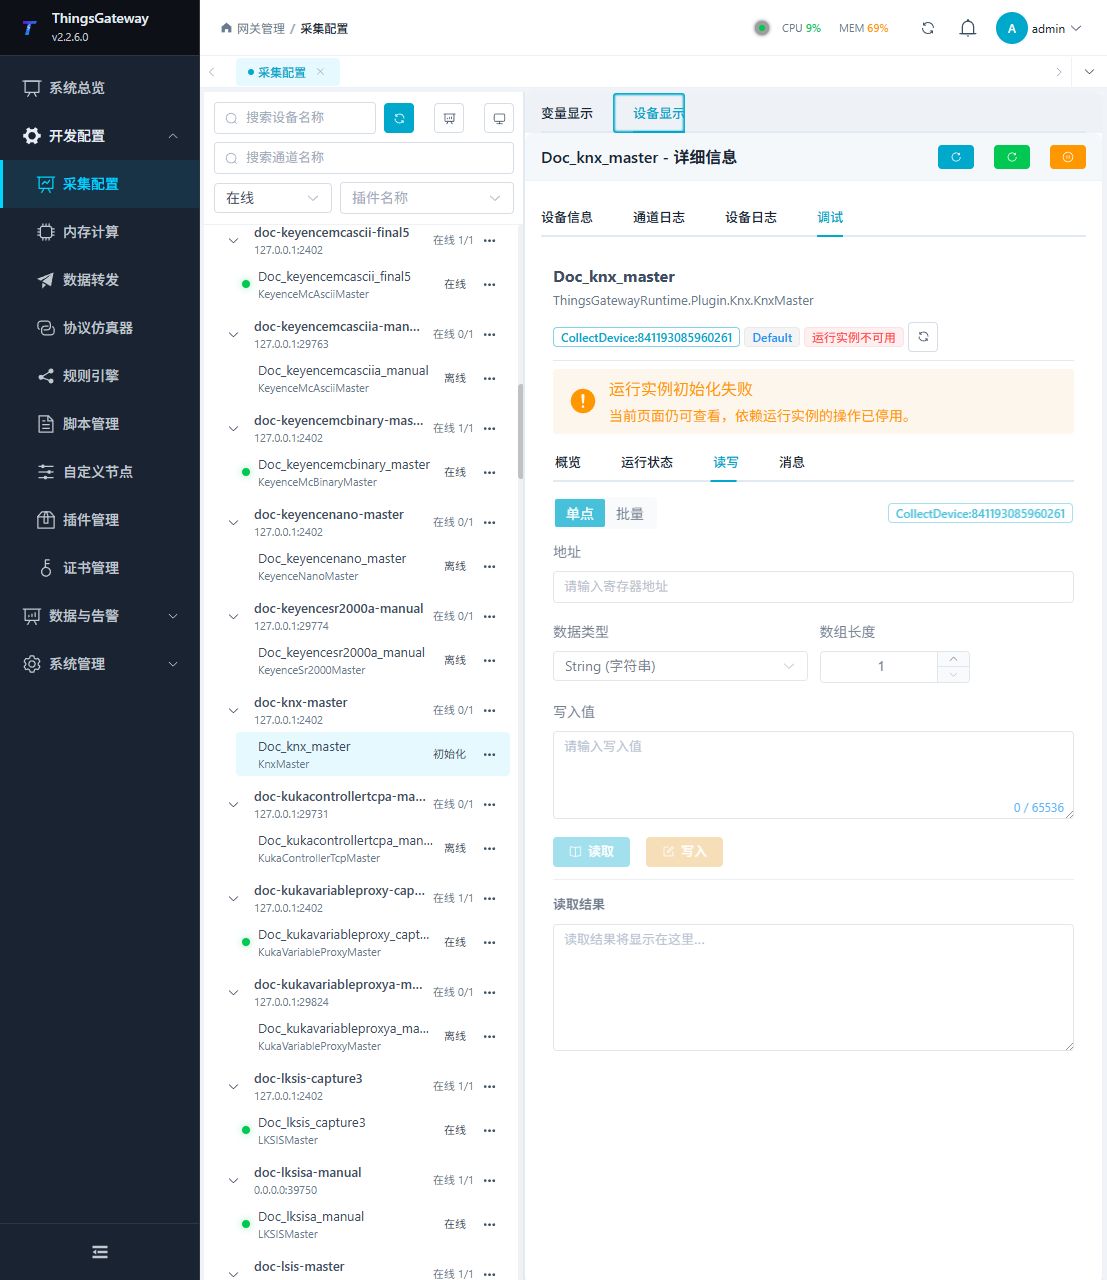
| Read and write | Read a confirmed point and write only to an approved test point. |
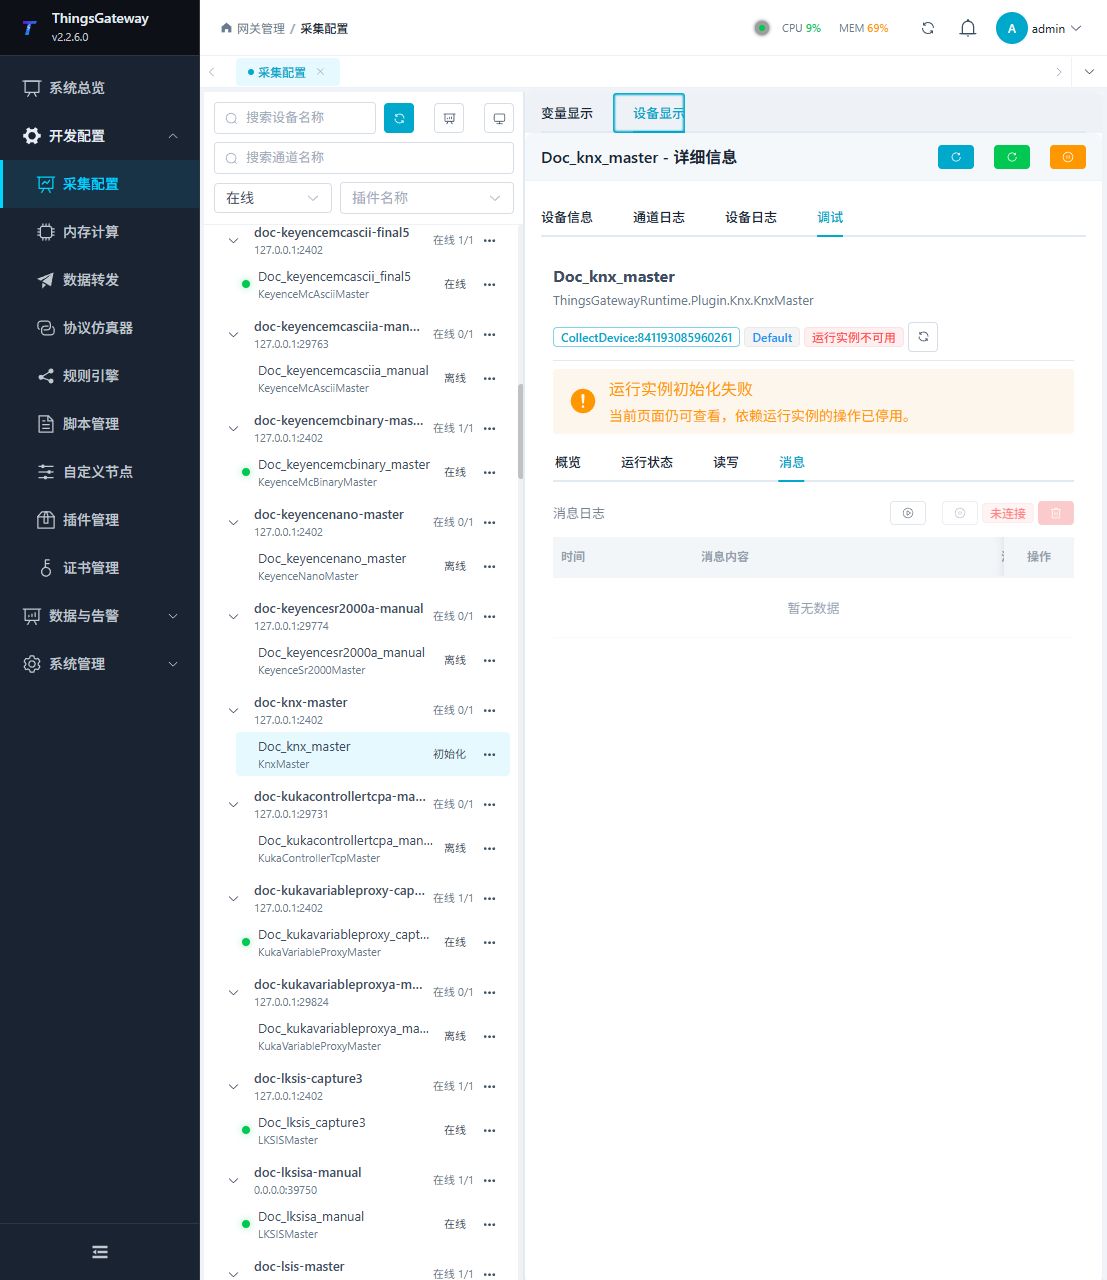
| Messages | View sent and received frames, protocol fields, and error details. |
Device debug
Enter "Development Configuration → Collection Configuration", select the current device and click "More Functions", then open "Debug".
Dedicated debugging page
Open Development Configuration → Collection Configuration, select the device, and open More Functions → Debug. The following image shows the plugin-specific debug page.
Verify the configuration
Use a confirmed on-site address to perform reading. The return value, data type and byte order should be consistent with the point list; after the writable point is written, it should be read back according to on-site requirements.
Troubleshooting
- Address reading failed: Check the station number, register or node ID one by one according to the address rules on this page, and confirm that the data type is consistent with the device point list.
Related links
- Collection configuration: View channel, device and common variable configuration.
- Plugin Index: Find other collection or data-forward plugins.