FujiSphMaster
Purpose
Fuji SPH Ethernet PLC address reading and writing and CPU control driver
Open the plugin
Enter "Development Configuration → Collection Configuration", create a device and select "FujiSphMaster" in "Collection Plugin".
Supported channels and data types
| Channel type | Pre-configuration check |
|---|---|
| TCP Client | Confirm network reachability of the device IP, port, and gateway to the device. |
| TCP server | Confirm that the local listening address and port are available, and allow on-site devices to actively connect to the gateway. |
Optional data types: Boolean, Int16, UInt16, Int32, UInt32, Float, String
Plugin properties
Protocol parameters
| Setting | Description |
|---|---|
| Connection number | Default: 254; fill in: text input. Connection number; CPU0 to CPU7 usually use FEH to F7H, default FEH |
Address rules
- Fuji SPH WORD address: I, Q, M1, M3, M10, such as I0, Q20, M1.100, M10.1000.
- The Boolean address must explicitly contain the bit number in WORD, such as M3.1000.12, I20.5, the bit number range is 0 to 15.
- The single read and write range is 1 to 230 WORD; the default port is 18245, and the default ConnectionId is FEH (CPU0).
Special methods
| Method | Purpose | Parameters |
|---|---|---|
| ControlCpuAsync | Control CPU | mode: 0 batch start, 1 batch initialization start, 2 batch stop, 3 batch reset, 4 individual start, 5 individual initialization start, 6 individual stop, 7 individual reset |
Write, start/stop, reset, load, delete or control methods will change the status of field devices. Before execution, confirm that the equipment is in an operable state and prepare for stop or rollback measures.
Functions
| Function | Purpose |
|---|---|
| Batch or initialization start | Use Batch or initialization start with an approved test point and confirm site safety before execution. |
| Batch stop or reset | Use Batch stop or reset with an approved test point and confirm site safety before execution. |
| Single or initialization start | Use Single or initialization start with an approved test point and confirm site safety before execution. |
| Single stop or reset | Use Single stop or reset with an approved test point and confirm site safety before execution. |
Device debug
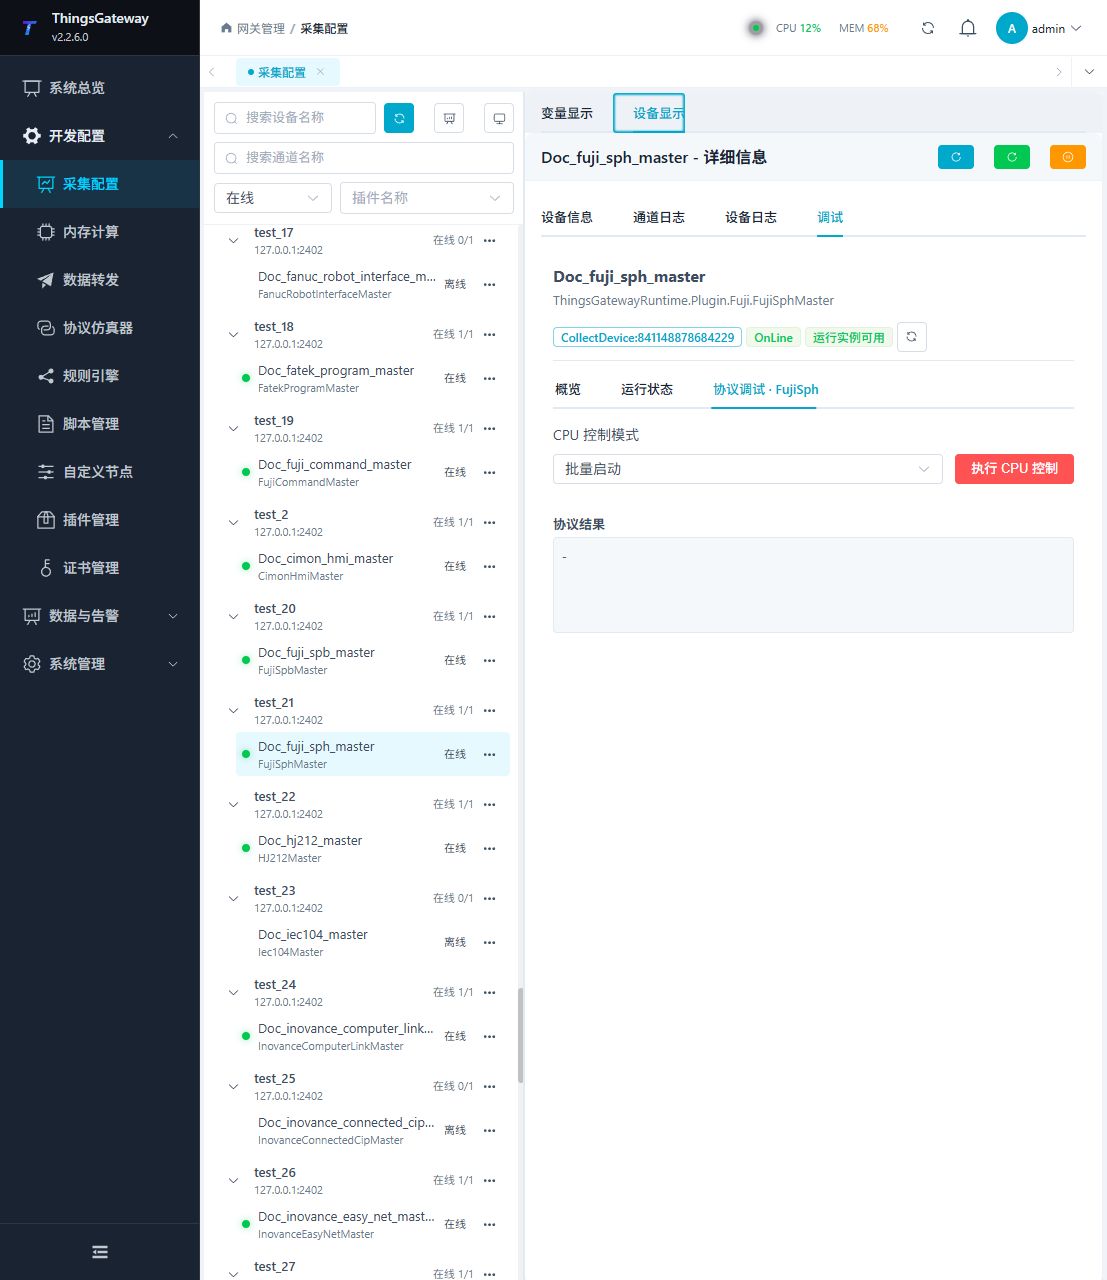
Enter "Development Configuration → Collection Configuration", select the current device and click "More Functions", then open "Debug".
Dedicated debugging page
Open Development Configuration → Collection Configuration, select the device, and open More Functions → Debug. The following image shows the plugin-specific debug page.
Debugging notes
Check the CPU control mode results first; issuing the CPU control mode will change the PLC status and must be confirmed twice before execution.
Verify the configuration
- Use the plugin-specific debug panel with one confirmed test point or test message.
- Confirm that the returned value or received message matches the device point list.
- Perform writes or control operations only with an approved test point and the site safety procedure.
Troubleshooting
- The debug panel shows no result: Check the required inputs and plugin parameters, then inspect the device or target log for a response or error.
- Special method execution fails: Check method parameters and permissions; control, write or reset methods also need to confirm that the device is in a state that allows operation.
Related links
- Collection configuration: View channel, device and common variable configuration.
- Plugin Index: Find other collection or data-forward plugins.